If you are seeing the error This PC can’t run Windows 11, you don’t need to panic because this is a very common issue during the Windows 10 to Windows 11 upgrade. It usually appears when your system fails to meet Microsoft’s hardware requirements. Many users get confused at this stage, but the problem is mostly related to BIOS settings or missing features like TPM 2.0 and Secure Boot.
The good thing is that this error is not permanent and can be fixed easily with the right steps. Once you understand the reason behind it, solving it becomes much simpler. In this guide, we will go through the main causes and practical solutions so you can upgrade your PC smoothly without any confusion or technical stress.
Why This PC Can’t Run Windows 11 Error Appears
This error mainly occurs because your computer does not meet the minimum system requirements set by Microsoft for Windows 11. The operating system is designed with strict hardware rules to ensure better performance and security. If your device is missing even one key requirement, the installation process will stop immediately.
The most common reasons include missing TPM 2.0 support, disabled Secure Boot, an unsupported processor, or running Legacy BIOS instead of UEFI mode. These limitations are very common in older systems, which is why many users face this compatibility issue when trying to install Windows 11.
How to Fix This PC Can’t Run Windows 11 Error
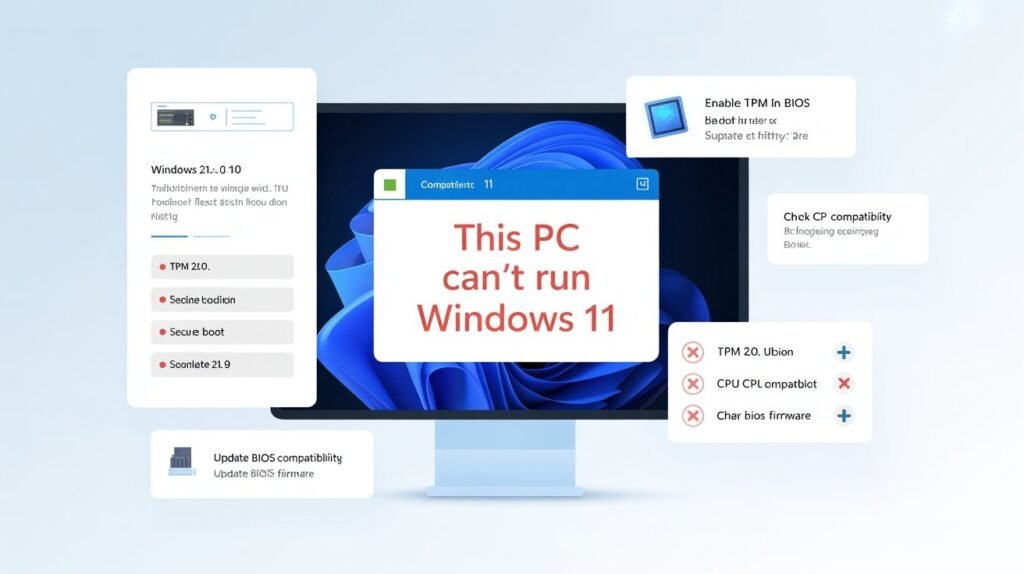
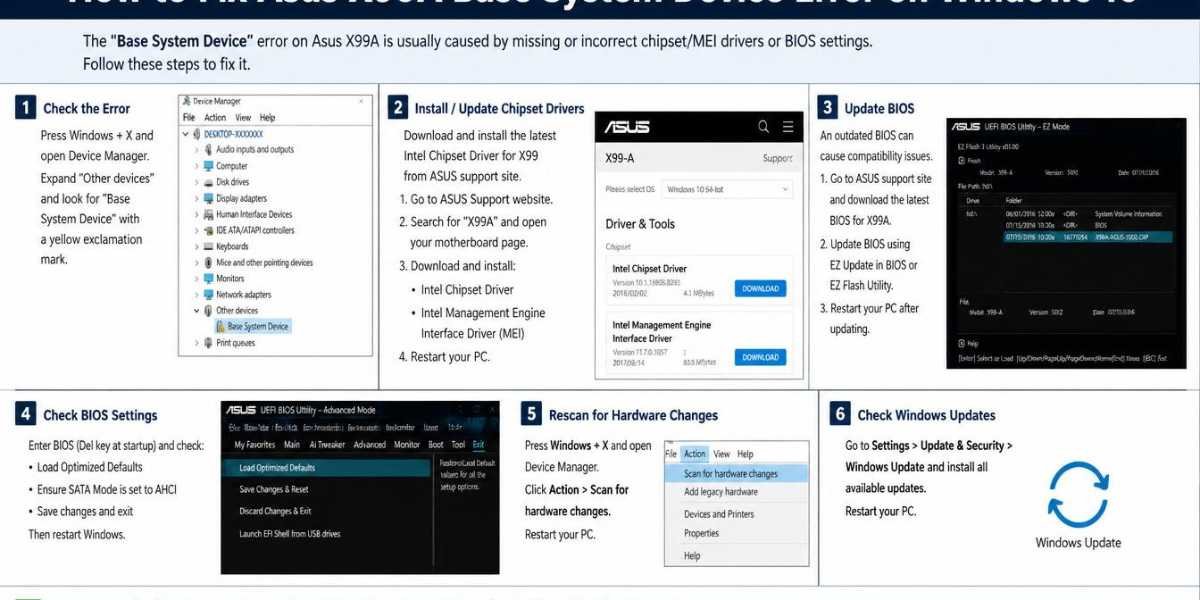
To fix this error, you first need to enter your BIOS settings and check system configuration. Most of the time, enabling TPM 2.0 and Secure Boot solves the problem instantly. You should also make sure that your system is set to UEFI mode instead of Legacy BIOS, as Windows 11 does not support older boot methods.
In some cases, updating your BIOS firmware is also necessary because older versions may hide important security options. After making these changes, restart your PC and try installing Windows 11 again. In most situations, the error disappears, and the setup continues without any issues.
TPM 2.0 Error When Installing Windows 11 – Fix Guide
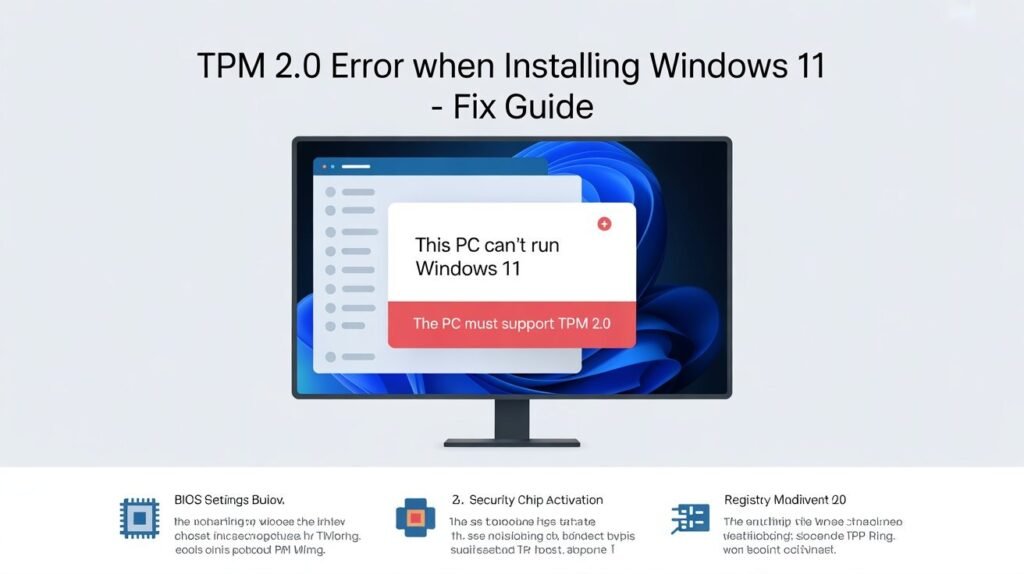
TPM 2.0 is one of the most important requirements for Windows 11 installation. It is a security feature that protects your system from unauthorized access and ensures data safety. If TPM is disabled or not available, Windows setup will stop and show an error message.
To fix this issue, you need to open BIOS settings and look for options like Intel PTT or AMD fTPM depending on your processor. Once you enable TPM and save the settings, restart your computer. After that, the Windows 11 installer will usually continue without showing the TPM error again.
App Can’t Run on Your PC Windows 11

After upgrading to Windows 11, some users may also face application compatibility errors. This usually happens when older software is not fully compatible with the new operating system. Windows blocks these apps to prevent crashes or performance problems.
To fix this, you can try running the application in compatibility mode first. If that does not work, reinstalling the latest version of the software is recommended. Keeping your Windows and drivers updated also helps in solving most of these application-related issues.
Can I Install Windows 11 Without TPM?
Technically, TPM 2.0 is a mandatory requirement for installing Windows 11. However, some unofficial methods allow users to bypass this restriction using registry edits or modified bootable USB drives. These methods can help with installation on unsupported devices.
But it is important to understand that bypassing TPM can cause security risks and may lead to system instability. That is why enabling TPM officially is always the safer and more stable option for long-term use.
Advanced Methods to Fix This PC Can’t Run Windows 11 Error
In some cases, basic BIOS changes are not enough to fix the issue, especially on older systems. Users may need to explore advanced solutions like updating firmware, checking hidden TPM settings, or resetting BIOS to the default configuration. These steps help clear any misconfigurations that block Windows 11 installation.
Another advanced method includes creating a proper bootable USB with updated Windows 11 files. This can help bypass minor setup glitches, but it is always recommended to first ensure your hardware meets minimum requirements. Advanced fixes should only be used when standard solutions do not work.
Final Conclusion
In most cases, the issue is not serious and can be fixed easily by adjusting BIOS settings or enabling required security features.
Once your system is properly configured, the Windows 11 installation becomes smooth and error-free. Instead of using risky bypass methods, it is always better to fix the root cause for long-term stability, better performance, and full system security support.
Frequently Asked Questions (FAQs)
Why does my PC say it can’t run Windows 11?
This message appears when your system does not meet Windows 11 requirements, such as TPM 2.0, Secure Boot, or a supported CPU. It is a compatibility check from Microsoft before installation.
How do I fix the Windows 11 compatibility error?
You can fix it by enabling TPM 2.0, turning on Secure Boot, and switching the BIOS to UEFI mode. In many cases, updating the BIOS also resolves the issue.
TPM 2.0 Explained: What It Is and Why It Matters
TPM 2.0 is a security feature that protects your system from unauthorized access and malware attacks. Windows 11 requires it for better security and system protection.
Can I install Windows 11 on an unsupported PC?
Yes, but only using unofficial bypass methods. However, this is not recommended because it can cause security risks and update issues in the future.
How do I check if my PC supports Windows 11?
It scans your system and tells you whether your hardware meets Windows 11 requirements or not.

Clara Linford is a tech enthusiast and troubleshooting expert specializing in Windows errors, gaming crashes, and software fixes. At FindsErrors.com, she breaks down complex technical issues into simple, step-by-step solutions.